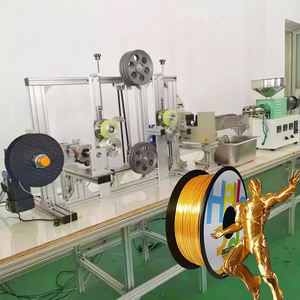
Discover a professional 3D printing powder supplier
** From Plastic to Metal: Turning Your 3D Prints right into Strong Metal Creations **.
(how to cast metal parts from 3d prints)
Ever before questioned just how to change a flimsy plastic 3D print into a tough steel masterpiece? The process isn’t as wild as it seems. With some fundamental devices and perseverance, you can transform your electronic layouts into sturdy steel components. Let’s damage down exactly how to make it take place.
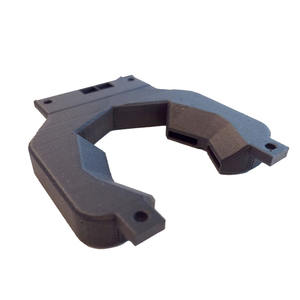
Begin with a 3D design. Layout it meticulously, remembering that casting steel needs thicker wall surfaces and smoother curves than regular prints. Avoid sharp sides or small information. These may not endure the mold-making process. Usage software program like Blender or food processor or Fusion 360 to fine-tune your version. Export it as an STL documents. Print it making use of high-resolution setups. A smooth surface issues below. PLA works penalty, but resin prints offer sharper information.
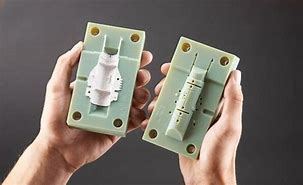
When your design is ready, it’s time to make a mold and mildew. Silicone rubber mold and mildews are prominent for small jobs. Hide your 3D print in a container filled with mold-making silicone. Let it cure overnight. Cut the mold open thoroughly. Eliminate the plastic original. Now you have a dental caries shaped like your part. For bigger projects, try sand casting. Press your 3D print into special spreading sand. Eliminate it to leave a best impression.
Thawing metal appears extreme. It is. Safety initially. Put on handwear covers, safety glasses, and fireproof clothing. Light weight aluminum is a good starter steel. It thaws around 660 ° C. Use a gas heater and even a charcoal arrangement. Put the molten steel right into your mold slowly. Let it great completely. Break away the mold. There’s your rough steel component.
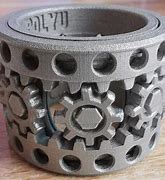
Tidy it up. Steel components frequently have bumps or harsh edges. Grind them down with a Dremel or sandpaper. Drill openings if required. Polish the surface for a glossy coating. Test the part’s strength. If it fractures under pressure, tweak your style. Thicken weak locations or include support structures.
Why experience all this trouble? Plastic components break. Metal lasts longer. It deals with warmth, stress, and heavy usage better. Enthusiasts like this method for customized car parts, fashion jewelry, or DIY devices. Experts utilize it for prototypes before mass production.
Materials issue. Less costly steels like tin or zinc benefit decorative items. For practical components, stay with light weight aluminum, bronze, or brass. Each steel acts in a different way. Aluminum is lightweight. Bronze resists deterioration. Brass looks fancy. Experiment to discover your favorite.
Persistence is crucial. Rushing causes sloppy molds or irregular pours. Take time to excellent each action. Enjoy tutorials. Join on-line discussion forums. Pick up from others’ errors. Every failed cast shows something brand-new.
Devices do not have to break the bank. A secondhand furnace, basic safety gear, and standard workshop devices cover most demands. Update as you acquire confidence. Advanced approaches like lost-wax spreading offer better details. That’s for later.
Still worried? Start small. Attempt casting a simple ring or screw. Master the essentials prior to dealing with complex shapes. Each success constructs confidence. Soon you’ll see every 3D print as a prospective metal marvel.
(how to cast metal parts from 3d prints)
No modern manufacturing facility called for. Your garage or yard workshop suffices. Welcome the mess. Commemorate the imperfections. There’s nothing like holding a steel component you developed from scratch. It’s magic made real.